March 11, 2022
— Anna Sloth Nicolajsen (Commercial Product Director)
A beginner’s guide to meeting room management
Do you need to find out how to add meeting rooms to your Outlook or Exchange? Or do you need a meeting room name generator? Then this is the guide for you!

Equipping your office with the first few meeting rooms is always going to be a daunting task, so to help you out, we have collected all the resources we have been able to find on getting your first meeting rooms up and running.
In this beginner’s guide to meeting room management, you will find everything from tips on how to equip the room, to step-by-step instructions on how to make the meeting room bookable in Outlook.
Setting up your first meeting room in three easy steps
When you have decided to set up a meeting room in your office there are three steps you need to go through, before you can start having meetings within the meeting room.
- Equipping the meeting room
- Second you need to brand the meeting room in a way that makes sure employees will start using it
- And lastly you need to make the room bookable (for this we have added a handy guide at the bottom of this article)

Outfitting your meeting room
While the first thing people tend to focus on when setting up a meeting room is things like a table, chairs, and plants, it is not the most important part of having a functional meeting room.
The first thing you need to focus on is making sure that it is a room that employees want to use, and that it fulfills the needs they have, to carry out meetings successfully.
To make sure that the room itself is comfortable, the room needs to be a good room. It needs to have good ventilation, not be too crammed and be well lit.
Making sure that your employees can carry out successful meetings means you need to include any equipment they may need. Depending on your employees it can range from whiteboards and markers to complicated remote collaboration setups for hybrid meetings.
Branding your meeting room
Branding your meeting room is especially important if your organization carries out a lot of meetings with external participants, and while there are many ways to make sure your meeting rooms reflect your brand values, we have come up with a short list for you here:
- Your chosen furniture and décor can be great ways to put your brand front and center. It can either carry your logo or reflect your brand values. If you brand yourself on being a sustainable organization you could focus on furniture made from sustainable materials, or if you pride yourself on equality you could focus on artwork reflecting inclusivity.
- Network names, passwords, and meeting room names is another way to reflect your brand or your company culture. If you need inspiration when it comes to names, you can use our meeting room name generator.
- Supplying materials for taking notes is also a great way to put your brand in the hands of your guests. Pens usually have the biggest impact, and many people tend to take them home after using them, but things like memo pads, legal pads and pen holders can be equally effective.
- Pre-packaged refreshments carrying your company logo may sound like a bit much. But supplying things like bottled water with your logo or small bags of nuts and raisins is also worth looking into. Especially because things like water bottles tend to leave the house if a guest doesn’t finish their drink and will therefor put your brand in front of even more people.
As you can see, branding your meeting rooms can be anything from the smallest decisions (such as naming each room after cartoon superheroes or civil rights activists) to the larger, more financially dependent decisions such as branding your furniture with the company logo.
Which ever version you choose is up to you.
Making the meeting room bookable
When your meeting room is completely set up with equipment and branding, the last thing you need to do, is to make sure employees can book the meeting room.
You could choose to simply implement a first come, first serve policy, where employees don’t need to book the room but just show up.
However, this can often lead to a lot of confusion, and because employees can see who is planning to use the meeting room beforehand it can even lead to unused rooms, as employees who need it for smaller, less important meetings will avoid using the room, in case someone had planned a more important meeting in the same time frame.
If you only have a few meeting rooms, you can get away with adding the meeting room to Outlook which will make it bookable directly from your employees’ calendars. And when the time comes for more complex bookings which include catering, external participants and so on, you can even add advanced booking features to Outlook using third-party software such as Pronestor Planner.
Meeting room name generator
One of the biggest obstacles to adding meeting rooms to an organization often seems to be naming the meeting rooms. You want it to be something that connects with your brand, you want it to be fun, and it needs to be memorable.
But even though you might have an idea, that it should be cartoon themed, or even if you can specify that you want Masters of the Universe-themed names for your meeting rooms, deciding can still be tricky.
To help you come up with names for your meeting rooms, we have created a meeting room name generator you can use as inspiration when naming your meeting room.
All you have to do is choose a theme, input the number of rooms you want names for (between 1 and 20) and click the button to generate a list.
How to add a meeting room to Outlook or Office 365
If you have been part of an organization who integrated their meeting rooms into Outlook, you know just how easy it is to manage meeting room booking directly in the Outlook calendar. Especially if planning more than just the occasional meeting is part of your job.
But for that to even be possible, you need to add the meeting rooms to your Office 365 account, and you do this by adding so called resource mailboxes.
Resource mailboxes doesn’t require any licenses (meaning they are free) and once they are added, they will appear as locations or rooms when you schedule meetings and events in your Outlook application. They also automatically accept and decline invitations (based on whether other people booked them before you), which helps you avoid double bookings.
But for that to happen you need to add them to your Outlook in the first place. You can do so by following this simple guide:

Step 1: Log in to the admin center
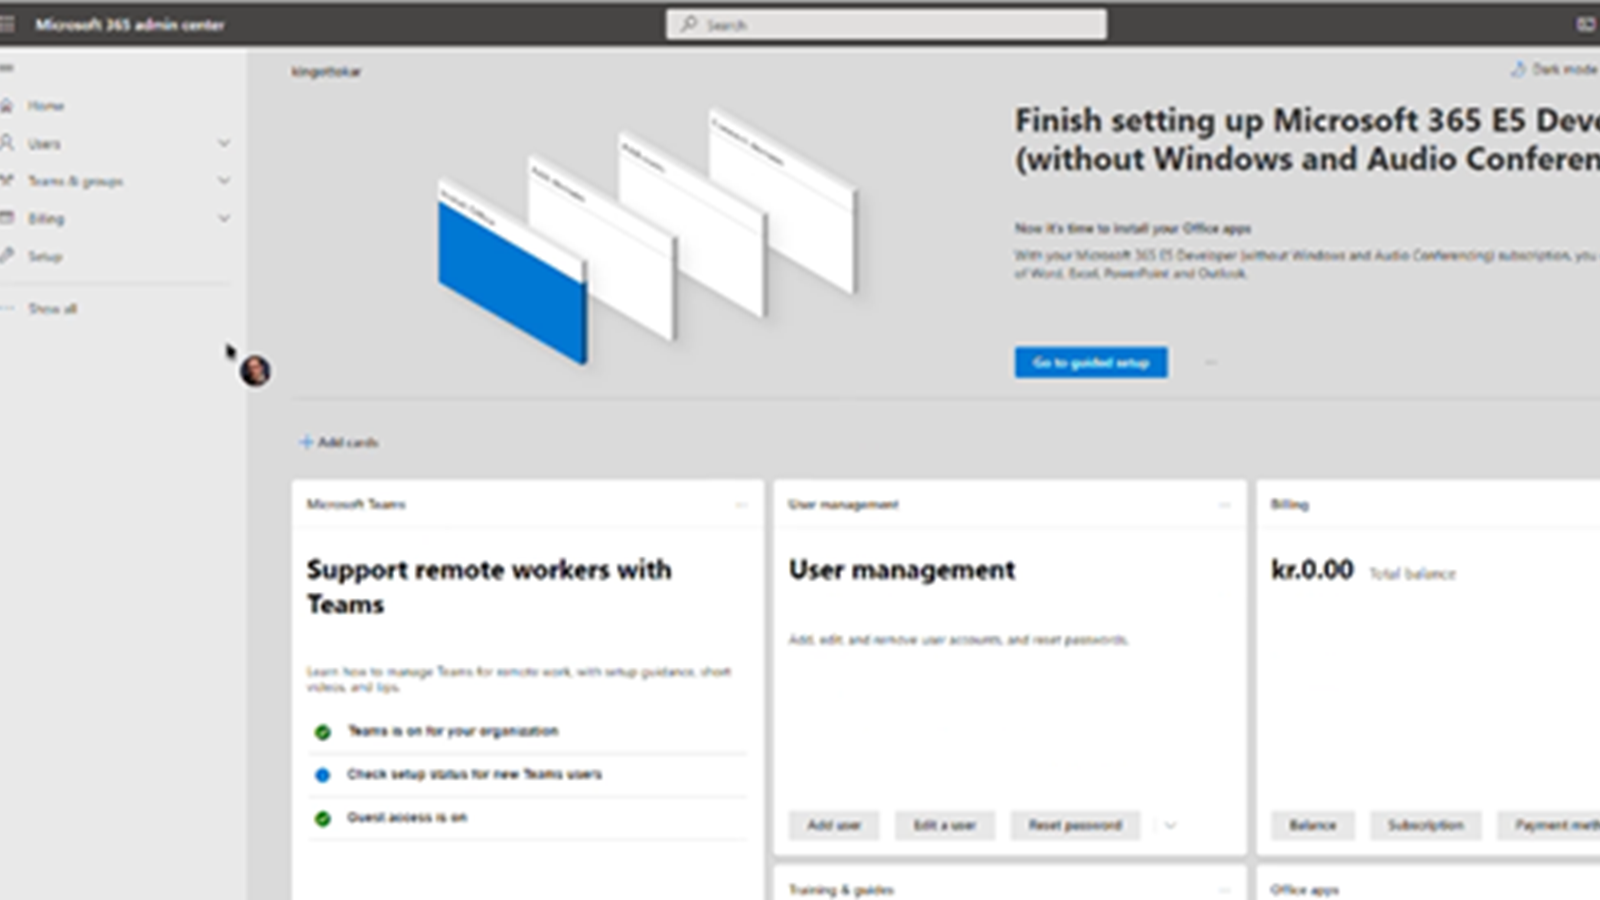
Start by going to portal.office365.com and navigate to the admin center.

Step 2: Create your meeting room
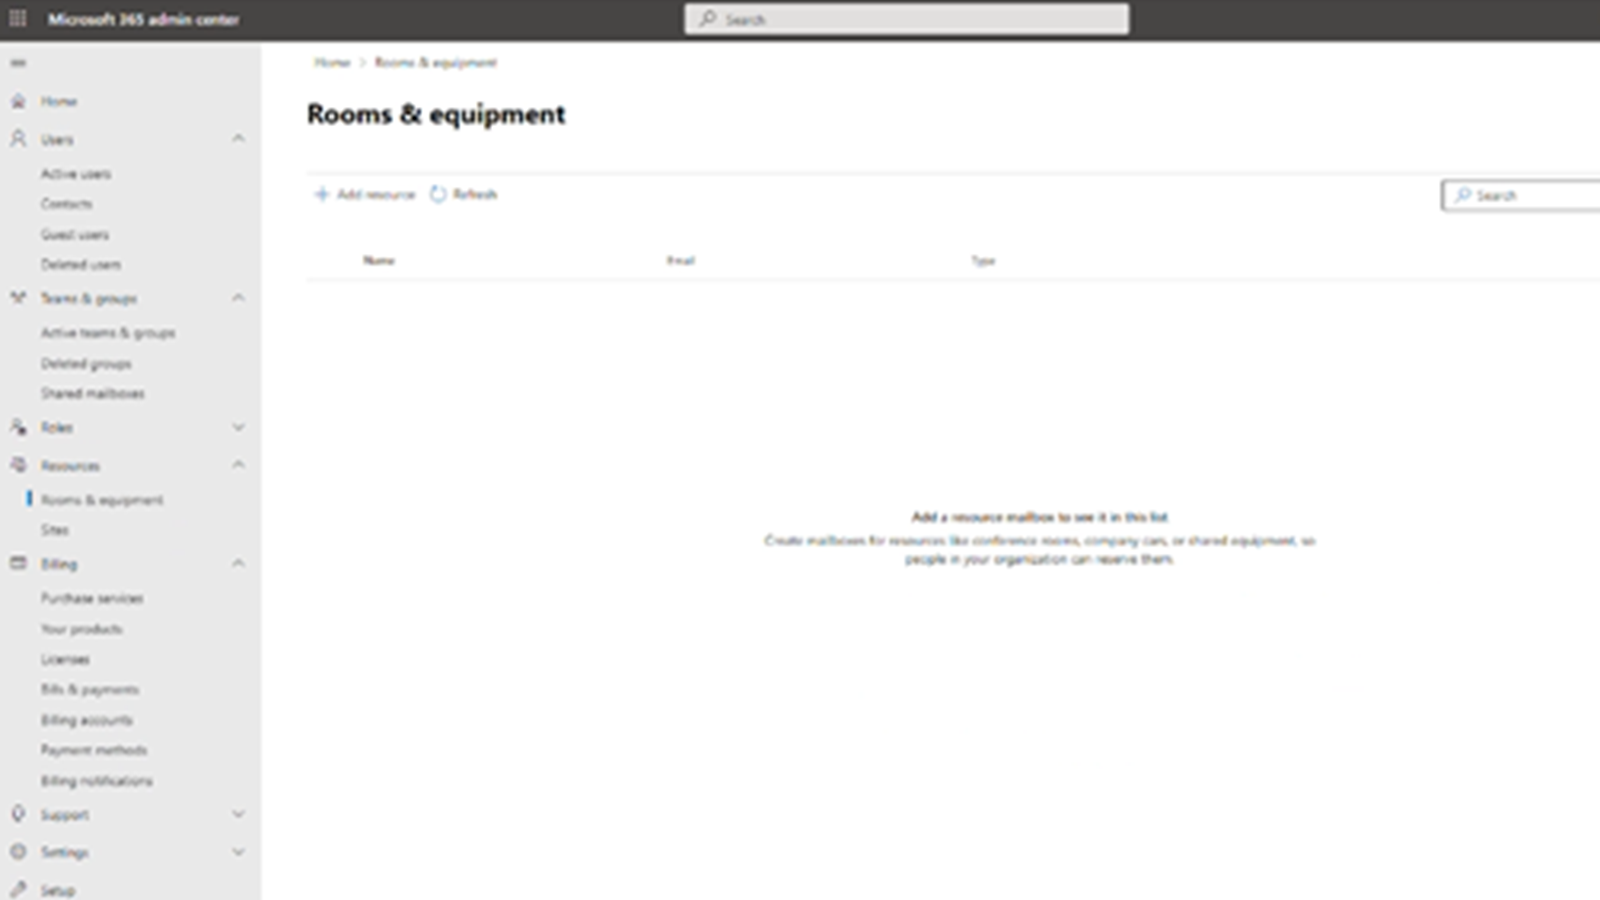
When in the admin center, select “Meeting Rooms” on the menu to the left. In some versions of the admin center this is called “Rooms & Equipment”. Once there, click the “plus” icon to create a new meeting room.

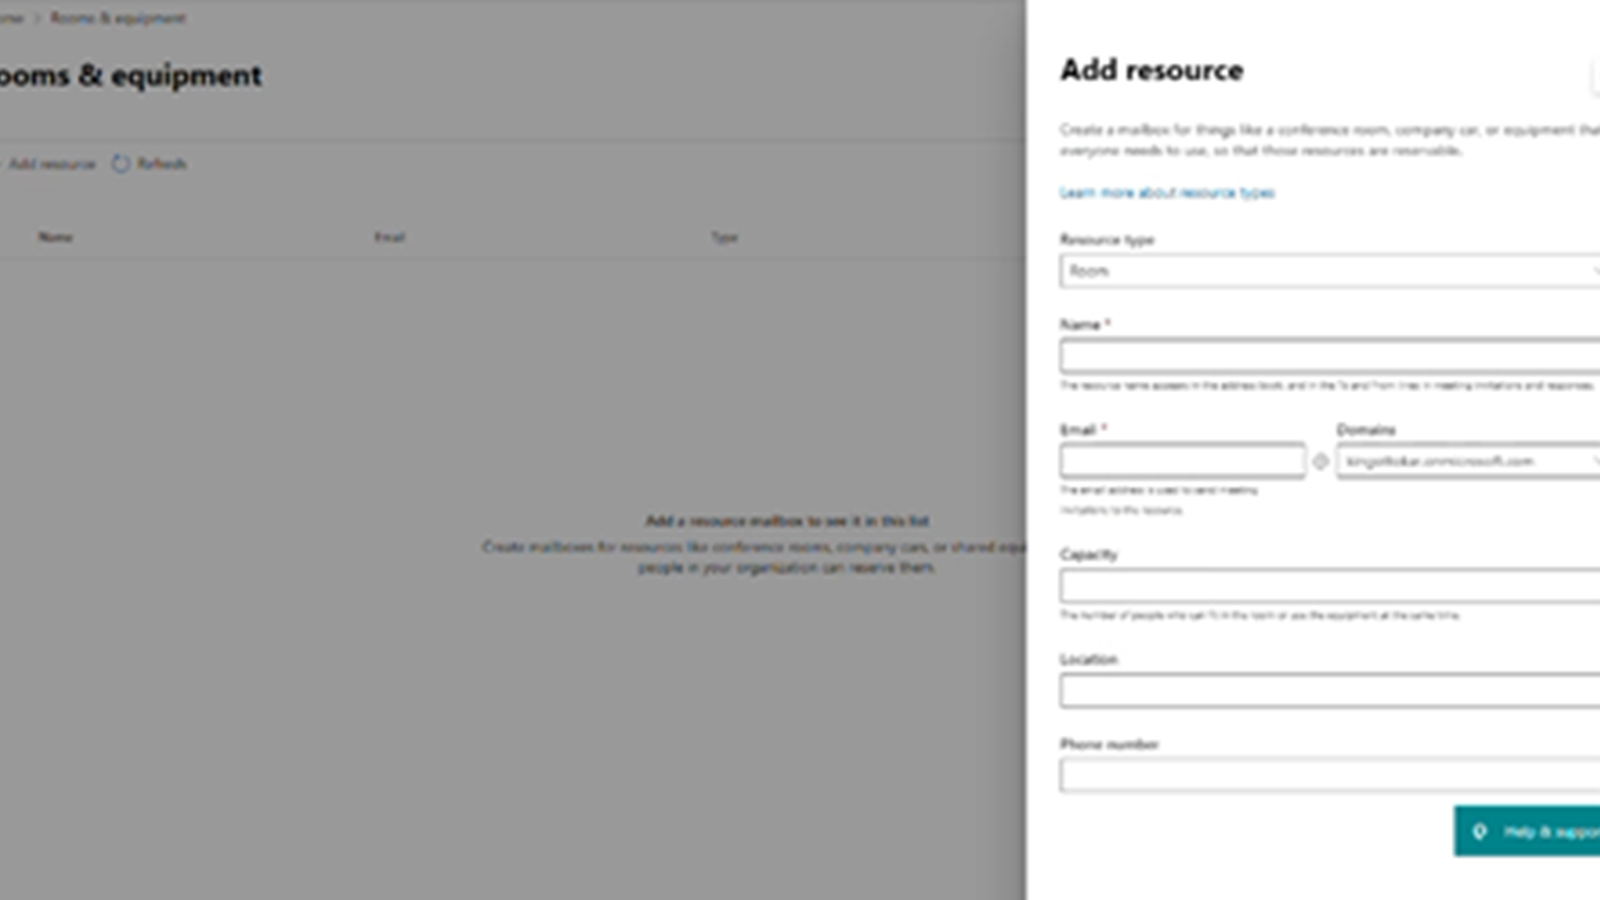
Step 3: Configure your meeting room
You need to equip your meeting room with a name, an email, and a room capacity. The name and email are shown in Outlook when users start booking the meeting room, and the room capacity is used to make sure the room size matches the number of meeting participants.

Step 4: Reset the password
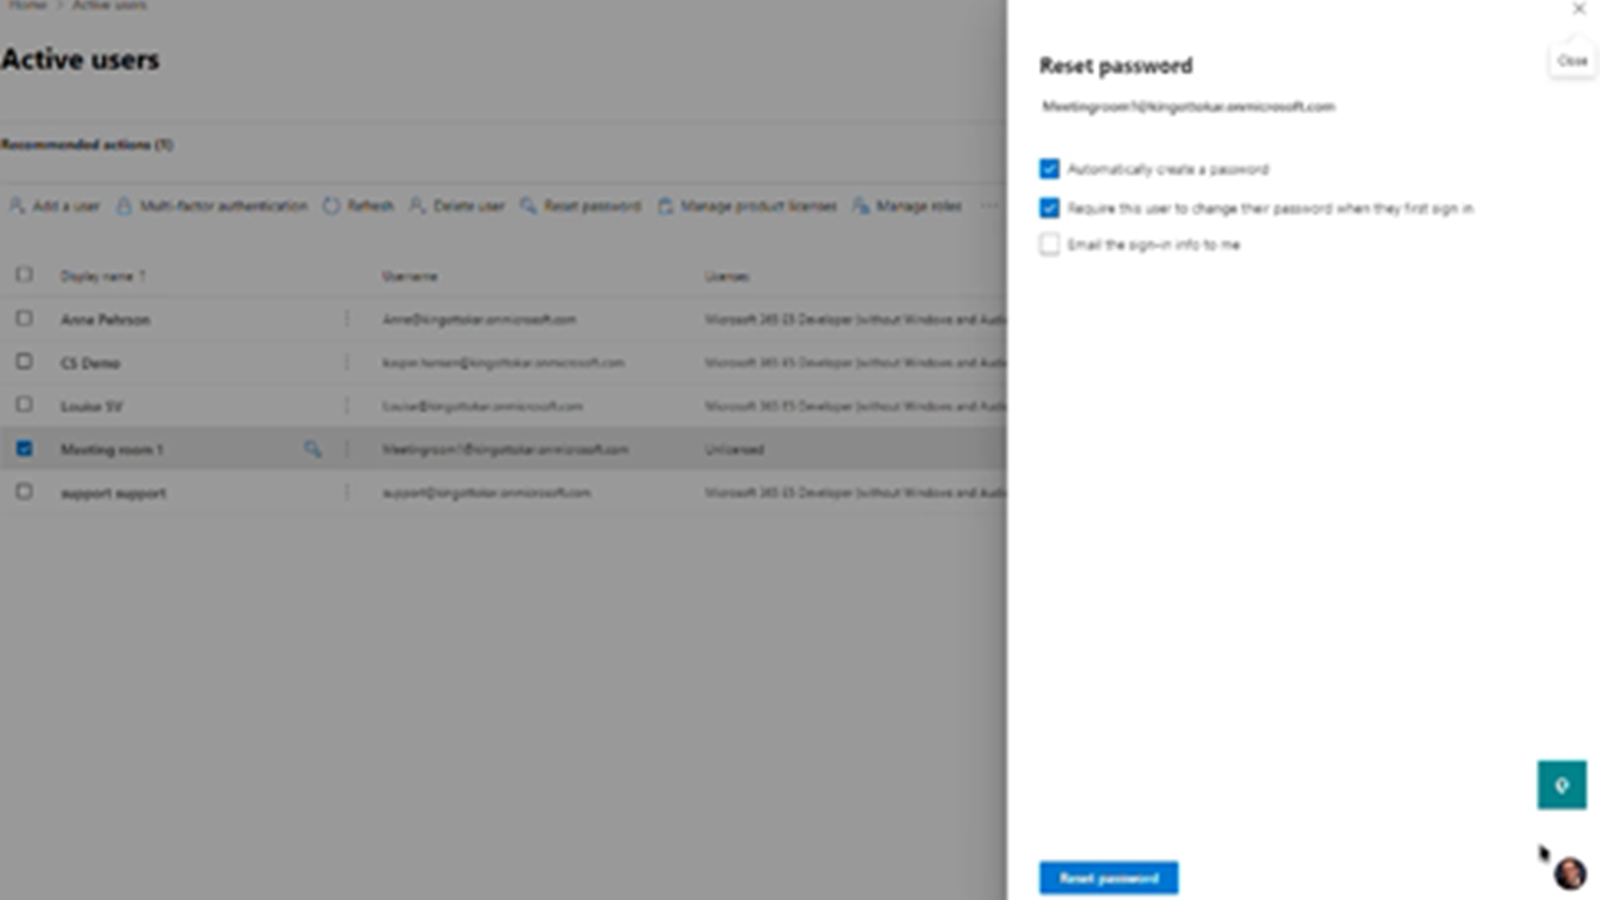
Before you can start booking the meeting room in Outlook, you need to reset the password in the admin center.
To do this, you need to navigate to “users” and then select “active users” in the menu on the lefthand side of your screen. Once there, click “reset password”.
How to add advanced room booking features in Outlook or Office 365
If managing meeting rooms and room bookings is part of your tasks, and especially if your organization have just added their first meeting rooms to the roster, you might ask yourself, do we even need a meeting room scheduling tool?
If you want to read more about the benefits of using a meeting room booking software, you can find an article about it here.
That said, we do understand the lure of using Outlook to handle your meeting room booking. There’s a mix of familiarity and efficiency, which is why you may want to find ways to add advanced room booking features to your Outlook rooms, instead of implementing new software.
To help you, we have made Pronestor Planner available as an Office 365 add-in. This means that you can install it directly in your users’ Outlook applications, letting them handle meeting room booking in the same way they always have, while also giving them the ability to find appropriate meeting rooms, inform reception and book catering in an easy way.


